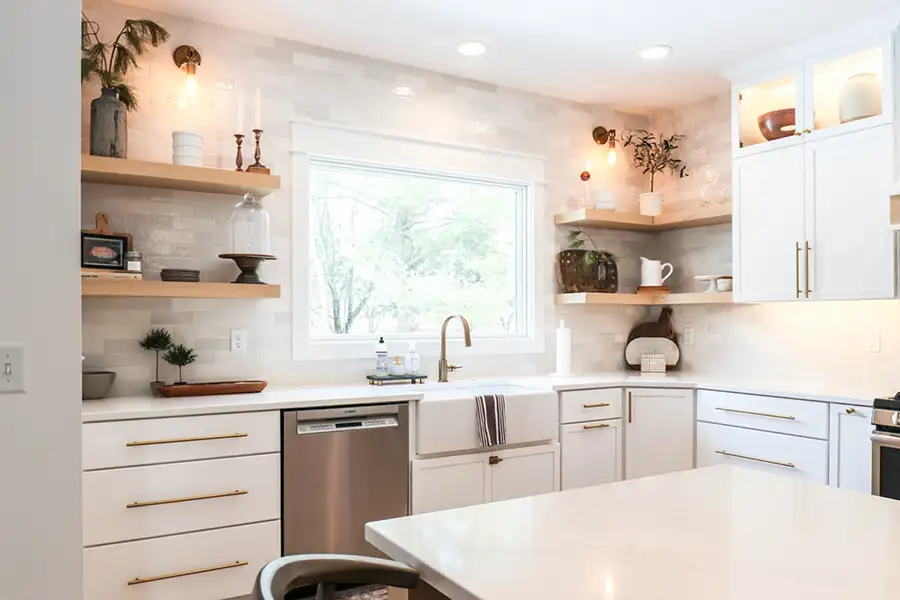
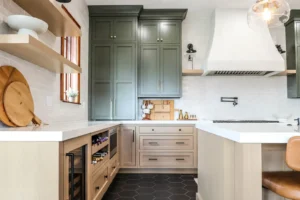
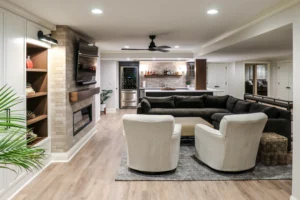
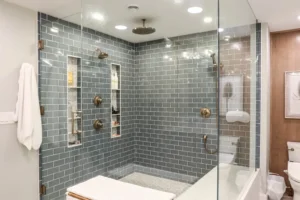
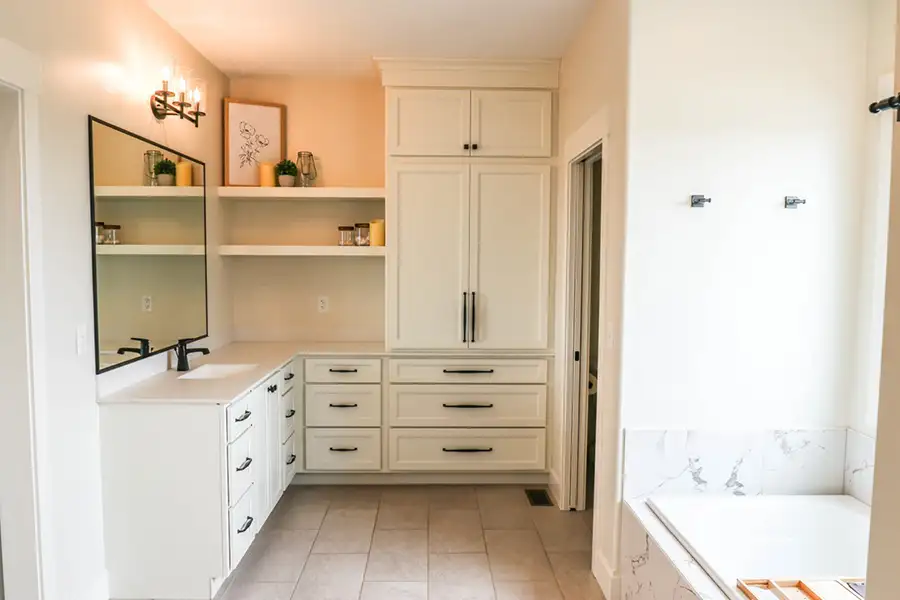
Open shelving – we’ve seen it in living rooms, kitchens, and even bathrooms. We love the openness and the opportunity to style, but how does one create perfectly styled shelves that don’t end up looking like a cluttered mess? Thankfully, you don’t need a design degree to achieve beautifully arranged shelves- just a few tips and tricks! Here is our professional design advice for styling your open shelves:
1. Start With Gathering All of Your Materials
While this first step might be the most fun, it can also be challenging trying to narrow down what kind of objects you want to include. Before filling a shopping cart with a bunch of random items, consider setting a few guidelines in order to ensure everything will look cohesive in the end. The two main guidelines to consider are color scheme and aesthetic. For the color scheme, try choosing 3-4 main colors that go well with the existing colors in the room, mixing in neutrals as well as accent colors. Now when you are shopping or searching through existing decor, you have an idea of what colors to look for to help narrow your search.
When it comes to an aesthetic, you can look to your existing design style in the rest of your house and mimic that on your shelving. For example, does home have a boho vibe with lots of greenery and various textures? Perhaps you have a more simplistic, classic style and like incorporating neutral, airy elements. Maybe your style changes constantly and you find yourself following seasonal transitions. Regardless of which aesthetic you lean towards, taking the time to reflect on what kind of style you’re drawn to will help you set the standard for what kind of objects to incorporate. When you find an item you like, ask yourself: Does this fit the color scheme and my desired aesthetic? If the answer is yes to both, then add it to the cart!
Pro tip: Make sure to gather objects of various sizes and shapes so you have a good variety to choose from which will help when styling!
2. Style With Your Favorite Items First
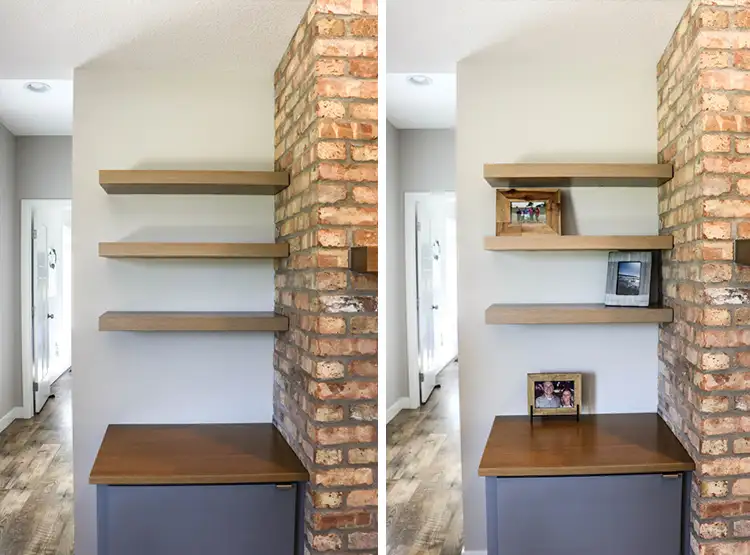
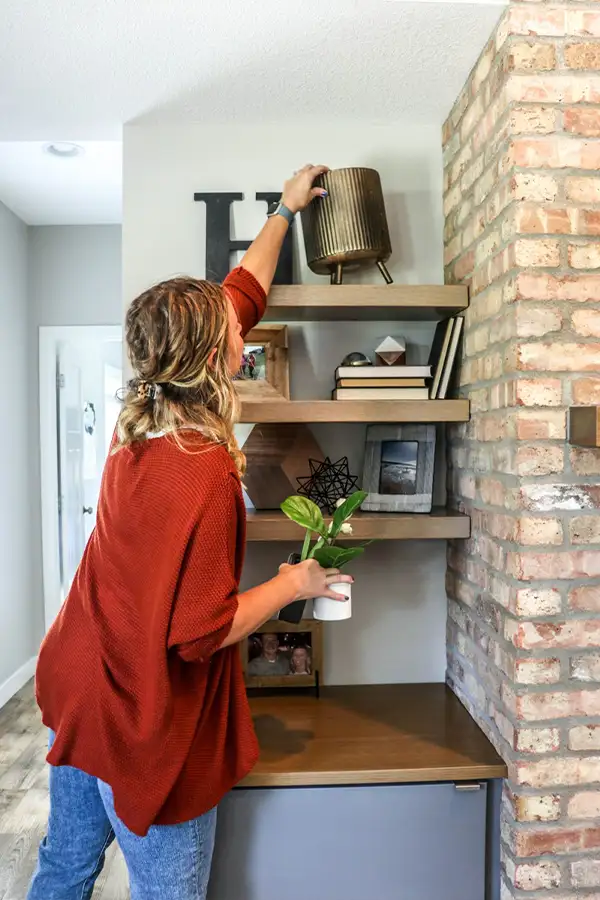
It might be tempting to start styling with one shelf at a time, but it’s actually better to start placing objects on various shelves and fill in as you go. If you start with just one shelf, you may end up using all of your favorite objects right off the bat to make sure they get used, but then that leaves the other shelves with all the filler. Start by identifying a few of your favorite objects and spread them out across the shelves you’re working with. For our designer, Carly, her favorite objects to incorporate are family photos. In her case, she starts with placing frames on various shelves.
Pro tip: If you’re styling kitchen shelves, make sure to place your dishware or other usable items first so that they are within reach.
3. Layer In Items by Creating Groups
It’s at this step that people tend to get stuck. How do I fill my shelves with all of these different items and have them look cohesive? The answer: create groups. Start with one of the objects you originally placed and think about what others you can layer next to it that will add some interest. If you’re unsure how to layer objects, here’s some helpful design hints:
- Use objects of various heights/widths
- Work in odd numbers
- Mix in different colors/textures
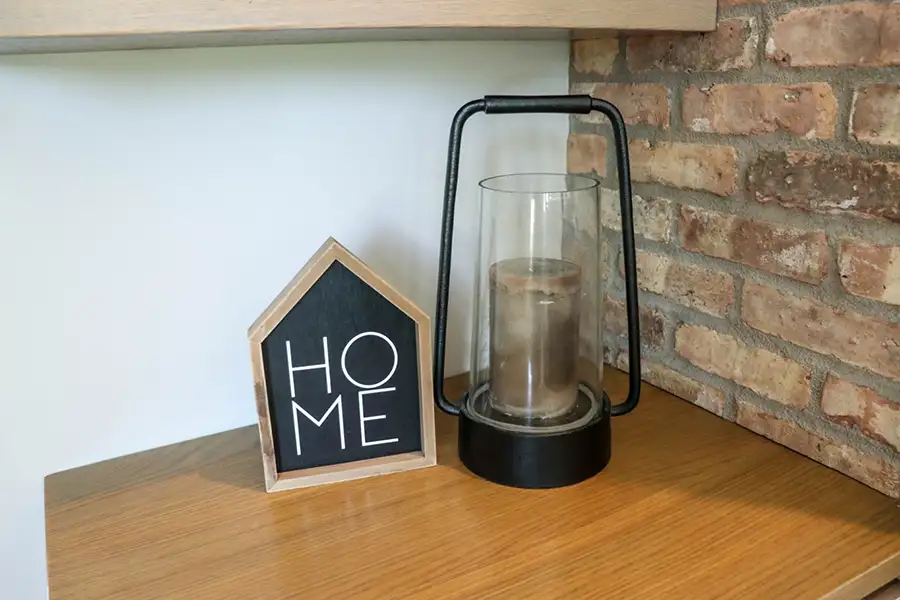
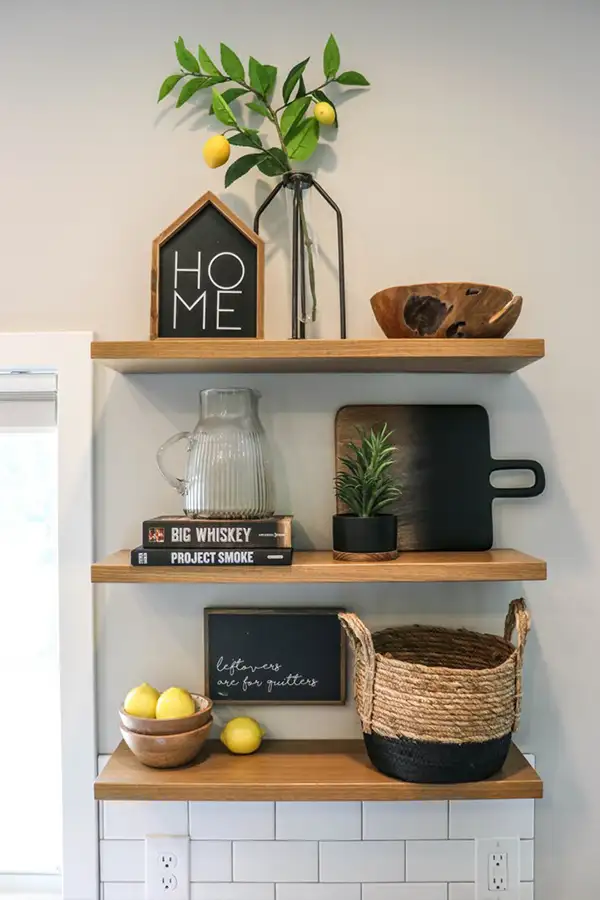
Let’s illustrate these design principles with some actual objects so we can see them in action. Say we started with our favorite “home” sign. It’s a medium height, so could look for a taller object to go with it to add some contrast.
Adding in the lantern gives us some contrasting heights, but these two objects don’t look like a group yet. Let’s add in a third item to follow the odd numbers rule. Again, we want to consider the height/width of the object and we also have an opportunity to bring in another color or texture. How about some greenery?
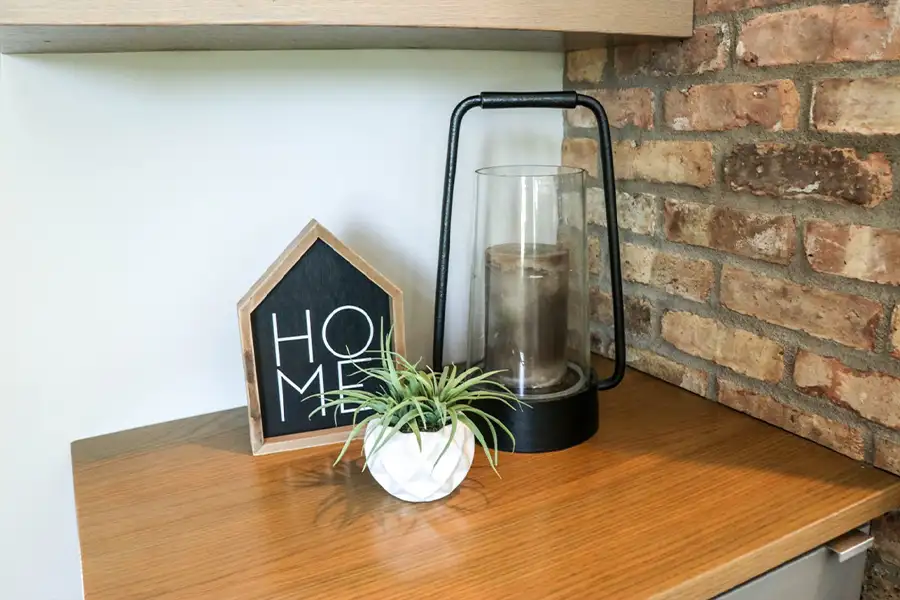
With the addition of a small planter, we were able to add more height variation, bring in a new color, and achieve our odd number rule. Now our eye starts to visualize these objects as a group as it bounces around the three objects in a triangular motion.
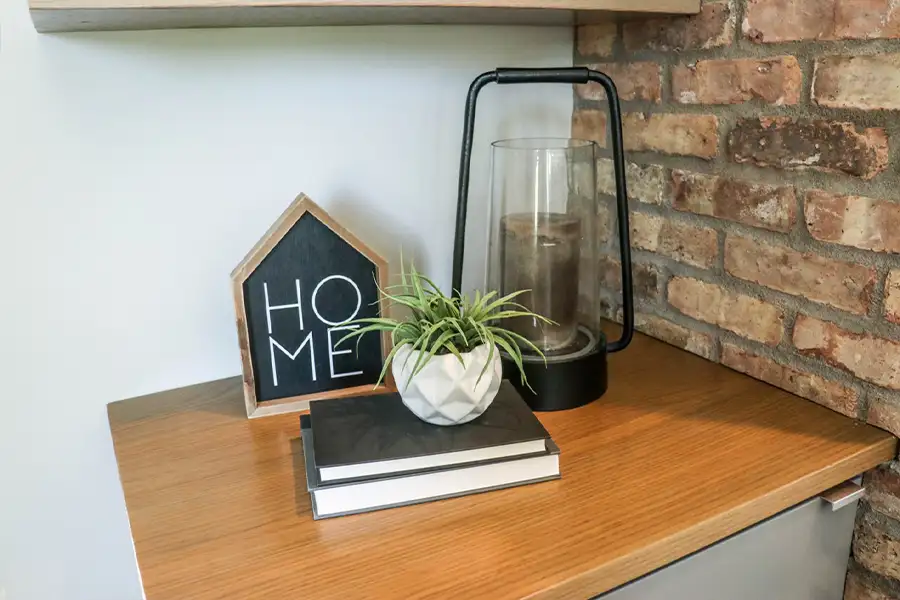
Pro tip: Layering in books is a great way to add height to an object and can also help make a group look more cohesive. You can still use them to follow the odd number rule, such as the example below going from three objects to five.
4. Step Back and Adjust
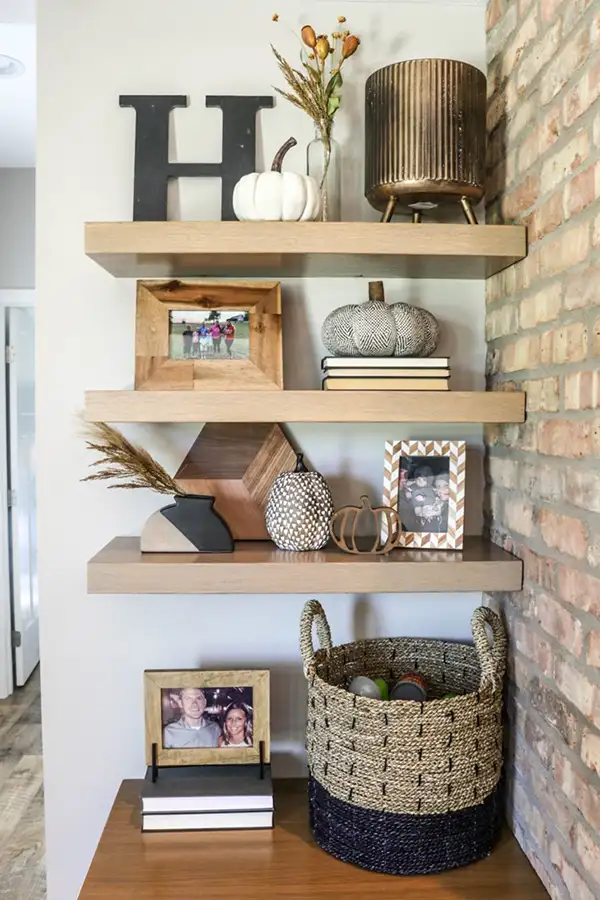
As you create groups and fill in the shelves, you’ll find yourself working up close and forgetting to take a step back to view everything as a whole. Even though some objects are on totally different shelves, they’re all working together to create a whole design. You might think you created the perfect group but when you step back to see how it looks with the rest of the groups, it just doesn’t work anymore. This may happen several times, and that’s okay! Allow yourself to adjust as needed by switching out objects, moving things around, or sliding that one item over another inch. At this point, if you feel like you need to break some of the rules listed previously, that is perfectly fine. Use them as a guide, but do what you feel looks right. Carly shared that when she’s styling her shelves, she likes to take a picture with her phone which forces herself to look at it from a different perspective. She then studies the photo to see if anything looks off. Whatever your approach is, getting a view of the shelves as a whole is a must!
Pro tip: Look for repetition across the different shelves. For example, do you notice similar colors, shapes, etc. being used across all of the shelves?
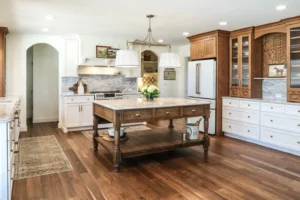
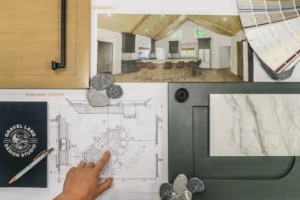
Feeling inspired to incorporate some open shelving into your kitchen, bathroom, laundry room, or living room? At Gravel Lane Design, we offer custom shelving services catered to your design specifications. If you’re already working with us on your custom kitchen or custom bathroom design, ask our designers about incorporating open shelving into the design so you can get styling!